A guide on how to replace a dead game save battery inside a game cart. Taken a step further by adding a holder for ensuring use of quality name brand batteries as well as ease of battery replacement later on.
Related article - Game Contact Cleaning Guide
http://www.racketboy.com/forum/viewtopic.php?p=501002#p501002
This guide will focus on the SNES game cart. The same principles can be applied to any game cart, console or computer motherboard that utilizes a battery for game saves or maintaining time and date.
SNES Parts and Tools
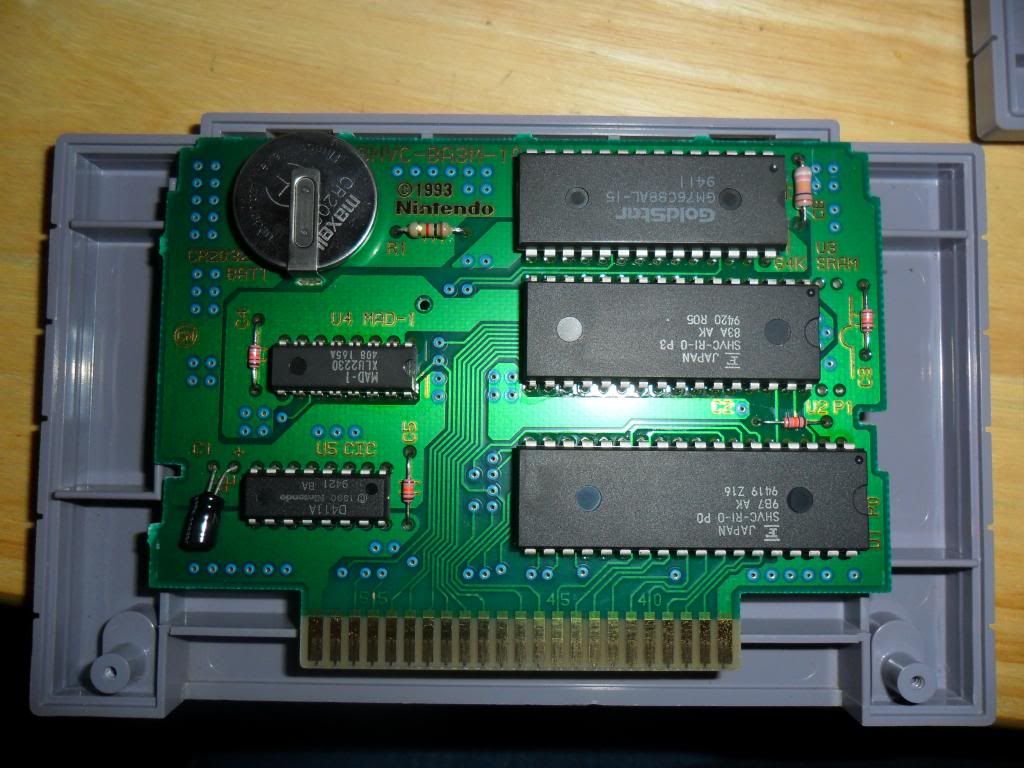
1. Game Cart (some use flash chip instead of battery)
2. Battery Holder
3. CR2032 Battery
4. 3.8mm Gamebit
5. Voltage Meter (optional but useful)
6. Pencil Solder Iron
7. Thin Rosin Core Solder
8. Desolder Suction Tool (optional)
9. Desolder Braid (optional)
10. Small slotted screwdriver
10. Wire Cutters (if tall battery holder)
11. Small 1/16" to 1/8" Drill Bit (optional for opening hole of PCB)
12. Foam mounting tape (optional, desirable with trimmed holder)
Right Click picture for a larger view
- SNES CR2032 Battery Change 01.jpg (250.18 KiB) Viewed 13163 times
CR2032 Battery
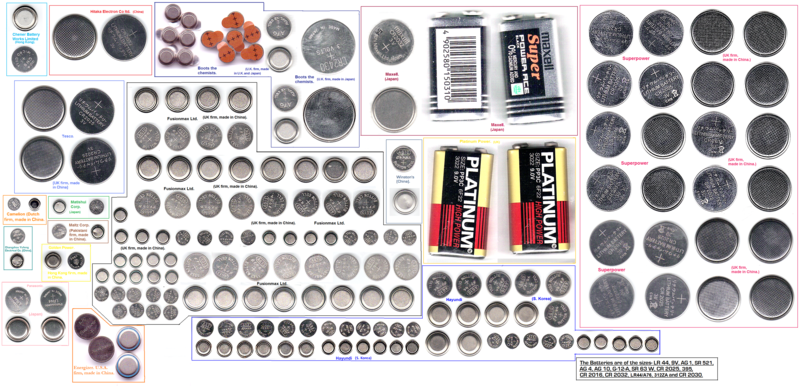
The battery is three volts and will last for many years since it only stores a digital save file. A CR2025 or thinner 3 volt "coin" battery may also be used but it will be smaller capacity with a shorter run time. Stick with a name brand battery such as Duracell, Energizer or RayOVac for proven long term reliability. There are also though not carried in most stores good names such as Maxell and Sony. The battery that was in the SNES cart was a Maxell. I picked up a four pack of Energizer, but prefer RayOVac since it also is of the same high quality at a cheaper price.
Pretabbed Batteries
There are also batteries with tabs already installed for direct solder mount. These batteries do not need a holder. The tabs will need bent to align up to the holes. A quick solder melt is needed to avoid damaging the battery and vinyl insulation.
Disadvantage - Possible poor quality brand. Direct soldering the battery might cause heat damage reducing the life of the battery. Pretabbed batteries need to be soldered every time a battery dies.
Advantage - Solid solder connection ensuring game save will not be lost until battery dies.

Hobie-wan wrote:The reason for the vinyl ring is that when you're mounting them flat on a PCB, the tabs both have to go near the edge. Depending on which side is up, you may have to worry about the tab folding around the edge where it could short if mounted poorly or after the item is dropped if it was pushed that way.
The tabbed batteries I have don't have the vinyl ring, but I put some electrical tape under the bent over tab to make sure it is safe. I've mostly replaced GB (Pokemon) batteries, fitting the larger ones in which will last longer. I solder with the one leg pointing it up in the air so I'm not melting the protective tape, then bend it down and secure the other side.
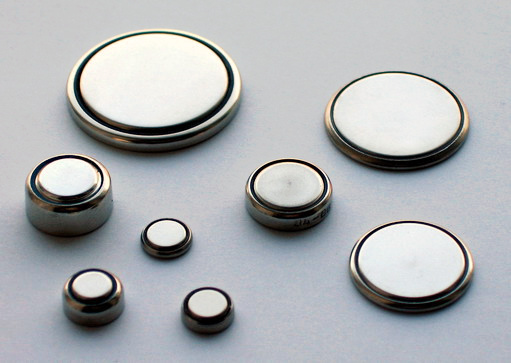
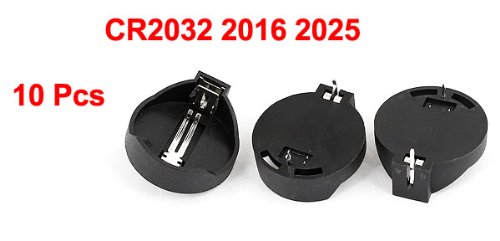
CR2032 Battery Holder
The more common sized battery holder is usually too tall to fit inside a game cart when mounted directly on the cart PCB. Look for a narrow holder that is not much thicker then a CR2032 battery. Prong placement of the holder must match the pin holes of the game cart PCB. However, the PCB can be modified if there is enough trace on the pad.
Disadvantage - Battery very slight risk of momentarily losing contact inside the holder wiping out the game save. If the cart needs to be disassembled for game contact cleaning, battery could become dislodged wiping out the game save.
Advantage - Easy battery replacement, guaranteed name brand battery installed for increased reliability. No risk of solder heat damage.

Ziggy587 wrote:If the ones you got look like the ones in the pic you posted, they're almost certainly too tall for a SNES cart. You could still wire them in and put them above the board, yes, but not for carts with full size boards (the board takes up the entire inside of the cart shell).
Polarity
Scrutinize the battery and holder to ensure which side is positive and which side is negative. Usually on the holder the outer prong is the positive lead. However designs can vary, confirm with the battery installed.
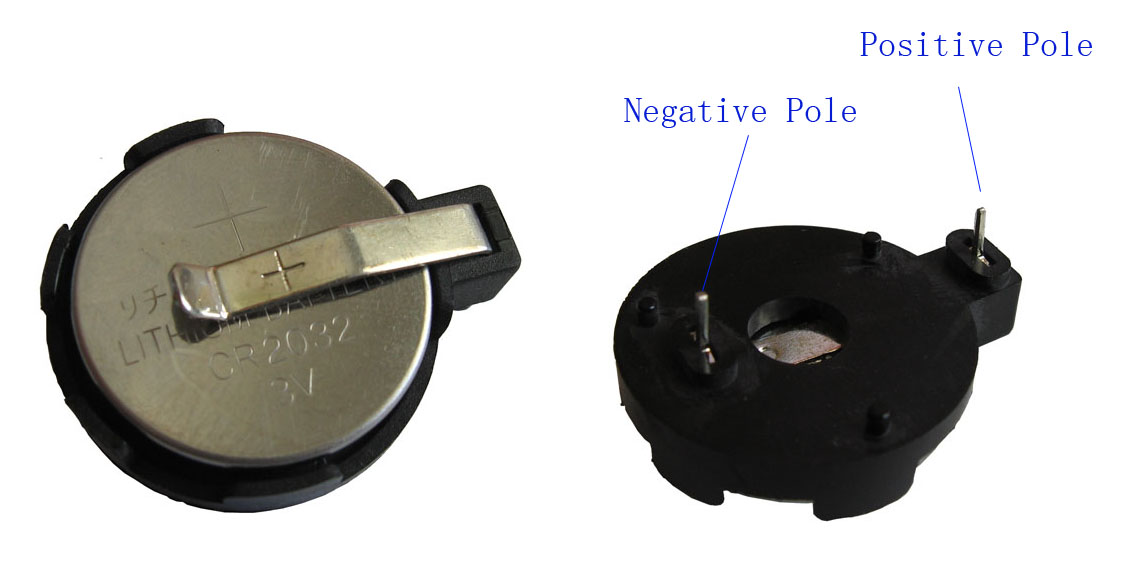
The positive side of the battery itself is the larger diameter side of the sandwiched wafer. The edge of the coin battery is part of the positive side, surrounding the negative pole on the opposite side.
Verify Game Cart Battery
First make sure the battery is really dead. Save a game making sure you do the right steps needed for a particular game. For example, I bought SNES Donkey Kong Country 2 that did not have any save file. Perhaps the seller deleted the saves? I played thru a couple of levels and still no save after turning off and back on. Turns out the game save is not automatic, but happens after the third level and visiting a certain in game character in order to obtain a save.
After confirming the save does not work, disassemble the game cart; remove the two 3.8mm screws from the front. The front game shell has tabs that locks the top. Swivel the upper half upwards, opening from the connector side.
A Volt Meter can easily verify if 3 volts are still in the battery simply by jumping the terminals on the PCB. This can also be used to verify the polarity in case the battery font cannot be read. The side with the writing is usually the positive side.

Desolder Dead Battery
Look closely and confirm the layout of the battery. Verify which soldered lead is positive and which is negative. The larger diameter side of the wafer is the positive side. SNES game carts have the battery facing different directions depending on the trace layout of the PCB.
CRTGAMER wrote:Looking at factory mounted game cart batteries, the tab on top has to be wrapped around the battery to be soldered underneath. Since the edge is part of the positive side of the wafer, usually the top is the positive side.
Positive on the bottom of SNES game PCB
Positive on the right of SNES game PCB

An option is to first snip the tabs holding the old battery with very narrow dykes. This has a risk of pulling up the PCB trace, so be careful when cutting. I find it easier to melt one solder connection underneath and pulling up the battery leg with a small slotted screwdriver. Just a little bit at a time while the solder is in hot liquid state. Then pull the other side during the melt, making two or three passes to lift the old battery and leg assembly. Or use the desolder sucker and or desolder braid to first suck out the solder. Be sure the legs are free of the board before pulling away.
CRTGAMER wrote:Do not force the battery out, a risk of pulling the fragile traces etched on the PCB.
Once the battery is clear, the holes have to be opened up for the new battery holder. Again, the Desolder Suction Tool or Desolder Braid can be used to suck out the solder. I have another method; be sure where to aim where you want the solder to "spray" off the PCB. Heat up the solder pad side with tip buried into the hole, remove solder iron and quickly blow FROM THE OPPOSITE SIDE. This works well, the solder is blown away without getting onto other contacts. Verify underneath that all traces are still separate. Hold up to light to ensure holes are clear.
Preparing The Battery Holder
Chances are the holders purchased will likely be too tall. I could mount the holder inside the shell and run a couple of wires, but I really want the battery to mount right on the PCB. This keeps everything neat without having to glue or tape the holder to the shell. It also makes for an easier cart contact cleaning due to no wires strung out to a seperate holder.
For a tall holder, use sharp wire cutters to trim off the top edges. Keep the holder enclosed in your hand while cutting to avoid losing a contact that might fly off. The holder should be at least the same height (but not too much higher), as the thickness of the battery when done. A file can be used to smooth up the plastic. The side metal contact also needs to be trimmed. However, I should have left one edge of the side contact uncut; it could then be bent over to hold in the battery more securely.
Right Click picture for a larger view
- SNES CR2032 Battery Change 02.jpg (244.47 KiB) Viewed 13163 times
Usually the solder connection prongs of the holder are just a bit too far apart to align with the battery holes of the PCB. If the prongs are bent to fit, they might weaken and eventually snap off later on. A small drill bit can be used as a file to elongate the PCB holes.
CRTGAMER wrote:The taller battery holder I purchased actually works out well. The prongs were a little far apart as in most replacement holders. However by simply pulling the side metal contact and spinning it around inside the holder, the prongs align perfectly with the battery holes of the game PCB.
Soldering The Holder
Double check and confirm the polarity of positive and negative positions. Solder the holder in, ensuring the prongs are pushed all the way in. The holder and the contacts inside should sit completely flush, to ensure the battery will still allow the game case to bolt up. A small socket or nut pressed in the holder while soldering will help to make the negative contact sit all the way in. After tinning the solder tip, melt the solder direct to the holder legs and PCB for good penetration. Be sure the solder does not flow onto an adjacent trace.
CRTGAMER wrote:While the game cart PCB is exposed a great time to clean the contacts. Use a pencil eraser to polish them up.
Right Click picture for a larger view
- SNES CR2032 Battery Change 03.jpg (249.33 KiB) Viewed 13163 times
After placing the CR2032 battery, a piece of double sided foam mounting tape can be placed underneath direct inside the facing game cart shell. The idea is with the cart shell assembled, the foam tape will help to keep the battery in check inside its holder. Leave the protective tape on when mounting the tape in the shell. This keeps the battery side from sticking to the tape.
Testing
After assembling, give the cart a thorough tap test. Drop it lightly on the table and drum your fingers on it while holding in different positions. This is to verify if the battery will pop out. Run the game after the shake test and verify the game save works.
A funny epilogue to the Donkey Kong 2 Cart was that the original battery still had juice in it; verified by a Volt Meter! I did not know at the time that the game did not have an auto save; the game save has to be done by meeting a game character past the third level! Since I did have to start a new game anyways, at least now the game cart has a brand new battery that should last for many years to come.
artphotodude wrote:BUTTON BATTERY SOCKETS - that can be permanently soldered to the Cart-Boards and then normal 2032 Button Cells like you find in PCs and Dreamcast VMUs can be slipped in as needed! See this eBay auction for an example: https://www.ebay.com/itm/5XCR2032-CR202 ... 3789176897. Then all you really need is just a Nintendo socket tip to keep all your games ready to work indefinitely.
Perhaps, but the pins can be set to the right angle and probably easier than most of the Batteries with built-in tabs. A bend-over approach with a dot of epoxy to fix to the board will likely work great.
References
List Battery Sizes - http://en.wikipedia.org/wiki/List_of_ba ... _miniature
SNES Battery Change Older Published Article - http://www.racketboy.com/retro/how-to-c ... ve-battery
SNES Batteries Racketboy Thread - viewtopic.php?p=809777#p809777
SNES Battery Change Instructables - http://www.instructables.com/id/Replaci ... /?ALLSTEPS
SNES Battery Change Otakus- http://www.otakus-store.net/en/content/ ... esmd-carts
Change Battery using existing tabs - http://motherboard.vice.com/blog/pictur ... me-battery