
CRTGAMER on Nov 7,2013 wrote:Well its not Summer any more but in Southern CA the Santa Ana winds sometimes makes it feel like Indian Summer. Anyways I picked up a car for my daughter after the MPV Van Of The Dead accident last year and have been doing some work on it. Still own my beloved 62, just have another toy to play with.
I'll start out with these pictures, sharp eyed car buffs should recognize what model and year car this is.
Guess the car before scrolling down pass this Quote. Now what is CRTGAMER up to?
Note TWO seat belts for driver and two for front passenger. The first year of the Shoulder Belt safety requirement in vehicles, the design not quite figured out yet.
Forgot to write a Guide on the brake conversion done way back in 2013, but the pictures do show the extent of work including a different brake pedal (different fulcrum point) needed for power brakes. Yes, you do have to remove the steering wheel and driver seat to access the brake pedal bracket deep inside the dash!
The below Guide I tried to post on a Vintage Mustang Forum site, but it had a word limitation for each post! I have posted other smaller Guides there including a very neat way to fuel the 67/68 mustang which have issues with emissions nozzles not clearing the bumper. Take a look, I use my same name and avatar picture there!
http://forums.vintage-mustang.com/search.php?searchid=15436314
For now posting the Motor Mount Installation Guide here for reference, who says Racketboy does not have information for everything?!
Motor Mount Installation Guide - 68 Mustang
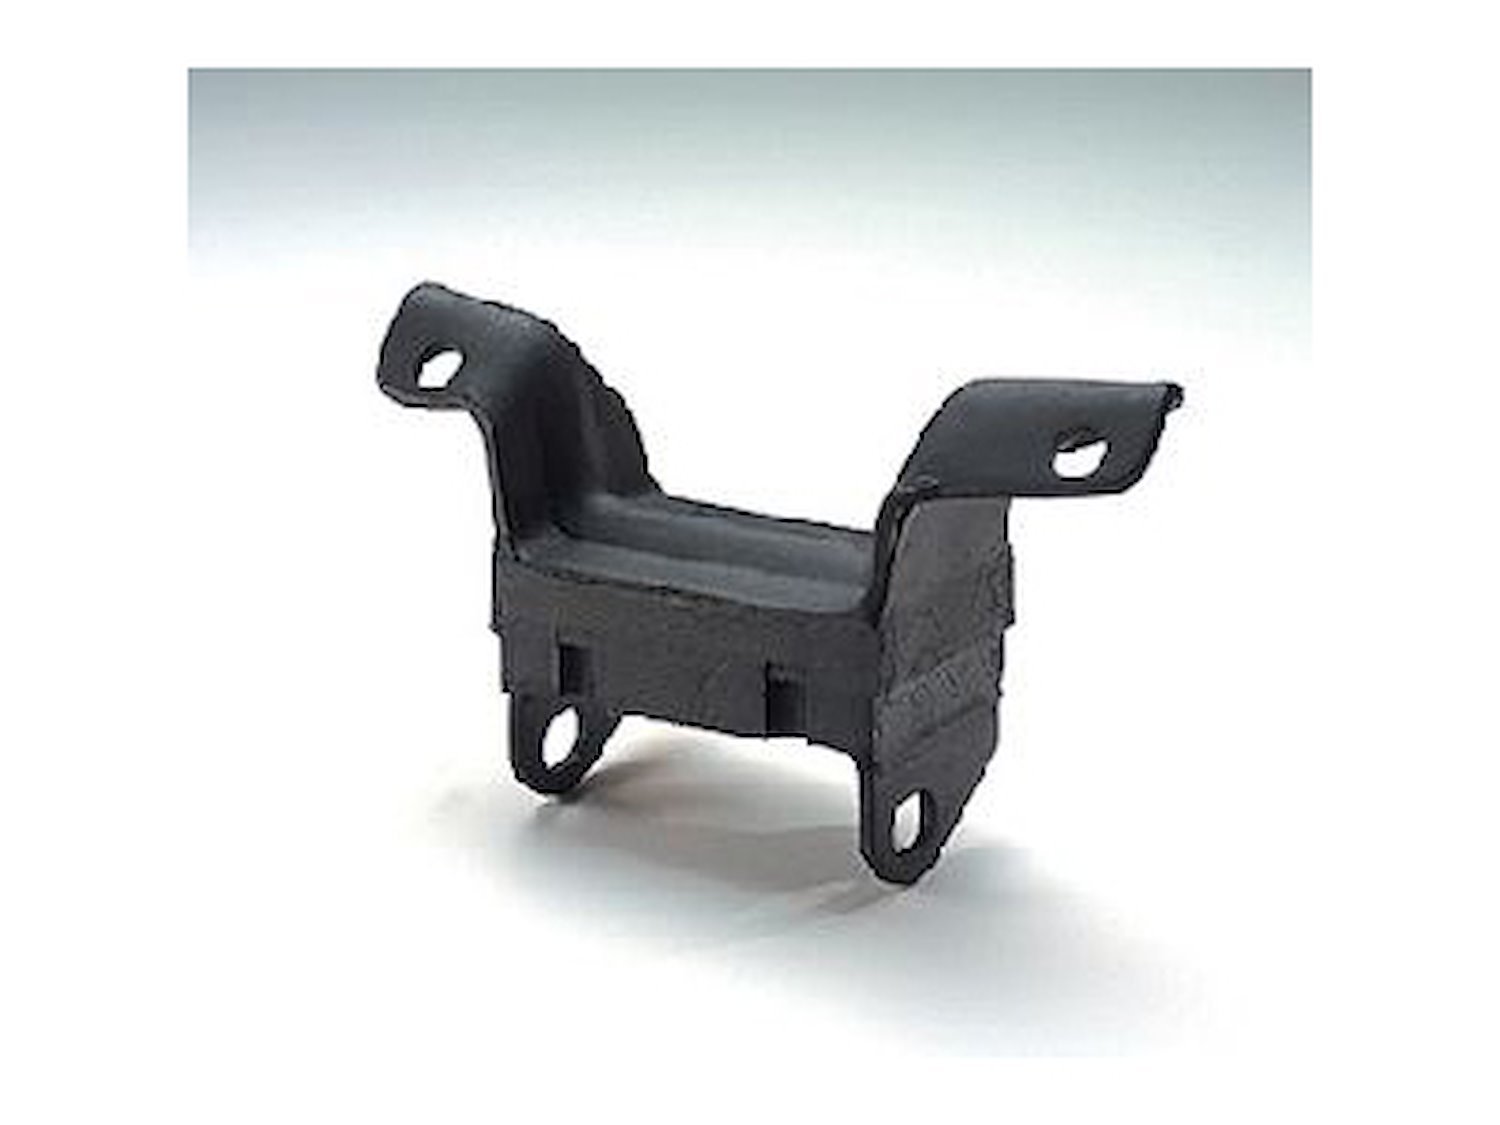
A guide to a common problem with stock rubber motor mount failure. The driver side usually breaks first caused by the torque of the engine twisting up. If not corrected, the passenger side motor mount and rear transmission mount will also fail. If the motor lifts enough from a broken motor mount, the fan shroud and possibly radiator can also be damaged.
Tools for Motor Mount Replacement
1. Floor Jack with 5 inch square steel or solid wood top (Transmission Jack best option)
2. Two Jackstands
3. 5/8" Socket
4. 11/16" Socket
5. Extensions, Breaker Bar and Ratchet
6. 5/8" Combo wrench
7. 11/16" Combo Wrench
8. Pry Bar or Crow Bar
9. Large Chisel
10 . Slotted Screwdriver couple sizes
11. Hammer
12. Oil Filter Wrench and Drain Pan
13. Rotozip or Handheld Grinder
14. 1/4" shaft grinding stones pointed and cylinder shape bits

Parts
1. Two Motor Mounts (Autozone Part #2257)
2. Oil Filter (Optional)
I mention the Autozone Motor Mount made by Westar as the readily quickest available for local immediate pickup at most cities. The motor mount does have alignment issues and very likely will need the holes reamed out with a pointed grinding stone to match up all the bolt holes on the engine block and car frame. I suspect the alignment compromise for this mount to be more universal for many more model vehicles for in stock availability. Other brands as well may also have alignment issues due to decades old "sag or twist" of the Mustang unibody frame.

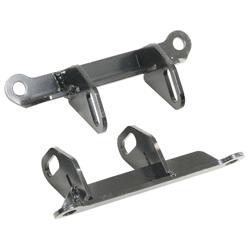
Jegs has a similar motor mount called "Muscle Motor Mount". Lakewood #24094 with what appears to be matched bolt mount length of original mounts and same material as the Autozone mounts.
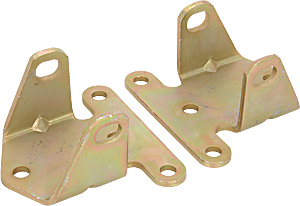
Summit offers solid steel mounts as well as red Prothane mounts with motor lift prevention brackets. The solid steels (needs KMember front clip) maybe too much vibration stress for the unibody frame; perhaps why steel mounts cannot be found for stock front clips? The lift prevention prothane model may interfere with the Mustang stock frame mounts and or headers.

I do like solid steel motor mounts for my 62 Impala which have been in place for decades thru two engine swaps. The extra vibration adds to the feel of the 510 lift 308 duration hot rod motor.
.
No time for a shipping delay due to needing an immediate install. The Jegs "Muscle Motor" mounts with a very similar design encouraged me with sturdiness of the Autozone Westar brand so I went with it for immediate purchase pickup.
Jack Up The Car
Fortunately, my Mustang has newer 2002 taller wheel rims, plenty of room under the car to work. If you have stock sized rims, jack the car just enough to work underneath and not too high so the engine can still be jacked up. Secure solid with two jack stands, be certain of the jack stand positioning for good footing since you will be jacking the motor up even higher. Note each motor mount where it bolts onto the engine block. The same motor mount fits either side, one arm of the mount is longer.
- 67-70 Engine Supports.JPG (83.49 KiB) Viewed 3403 times
Drivers side Motor Mount - Longer extension to the rear bolted to the engine
Passenger side Motor Mount - Longer extension to the front bolted to the engine

See Parts Illustration above for part numbers below
Remove the oil filter. Even though there is clearance between the filter and mount, you will need the extra elbow room to remove and replace the drivers side motor mount. BOTH motor mounts must be broke loose in order to jack up the engine. Due to work involved and passenger side motor mount weakened by twist of engine from driver side broken motor mount, best to replace both. Remove the transmission mount 5/8" nuts <MM-151> at the tail piece. This allows an extra bit of give when you jack up the front of the motor.
Break loose (do not remove yet) two 5/8" bolts <BB-172> on each engine mount bolted to the engine. For each horizontal bolt <B-188> anchoring engine mount to frame, remove the 11/16" nut <MM-173-B> with a holding the 5/8" bolt at the other end. If you are lucky, the horizontal bolt will slide right out. Do not force it out to avoid damaging the threads.
CRTGAMER wrote:Watch the fan, radiator hoses, transmission cooler lines, starter cables and of course hood should be open for clearance as you jack up the motor. If this was my small block chevy then the remove the distributor at the rear too!
Place floor jack under the oil pan with the 5 inch square solid wood or steel on top of jack to prevent crushing the oil pan. Raise just enough to support the engine. Remove four engine motor mount bolts. Raise engine up another inch and remove horizontal bolts if not already removed. If the exhaust pipe or headers in the way, you might have to raise the engine a bit higher to slide off the horizontal bolts. Raise the engine just past the motor mount arms so each can be pivoted and slid out.
Measure-Grind-Measure-Grind
Compare the old mounts to the replacement mounts. At first glance, the Autozone motor mounts appear incorrect with even length arms for the engine block. One side does extend a little further, but usually it is not enough. Place the mount on the car frame with horizontal bolt <B-188> slid in to determine how far off the holes are from the engine block holes. The motor mount does have a hardened rubber center which allows a slight bit of give, but not much. Using a chisel and or the crowbar helps to get a little more edge twisting the motor mount a bit. This will take a few tries elongating the holes with the Rotozip grinding pointed bit so all bolts line up. Do not force any bolt into a hole to avoid cross threading.
CRTGAMER wrote:Both motor mounts have to have all holes aligned before bolting everything up. Pay particular attention that the oil filter can spin all the way back on, the driver motor mount might need a 1/4" or more edge grinded off to clear!
Before lowering the engine, double check the driver motor mount bolted to the engine block clears the oil filter threaded all the way down. If the filter does not clear do NOT grind the motor mount edge in place, that oil filter gasket surface is way too close! Before the engine block and frame bolts can be threaded in, the engine must be lowered, just not all the way down. As in any assembly, start ALL bolts before tightening any. I found it is easier to align the horizontal bolt and nut before installing the engine block bolts. Depending on the alignment, try either the engine block or frame bolts first, using the jack, pry bars, screwdriver and even a hammer with chisel to align the motor mounts. Once all bolts are threaded down and not tightened, lower the engine to place all the weight on both motor mounts. Tighten all the bolts snug, drop the jack the rest of the way and torque down all bolts and nuts once again. Replace rear transmission mount nuts and torque.
Raise car to remove jack stands, lower to ground and remove jack. Have a second person with solid foot on brake; place car in drive (or ride clutch) and then load the engine in forward gear. Observe that the motor should no longer have the jack rabbit jump movement of the older broken motor mount. Congratulate yourself and now quit driving with a heavy foot at every stop light!
- Mustang 1968 Plate Blanked Back.JPG (57.76 KiB) Viewed 3391 times
Other options
1bad6t wrote:Pinned Motor Mounts
http://www.fordmuscleforums.com/engine-articles/466422-pinned-motor-mounts.html
After separating a motor mount again I knew I needed something stronger than stock motor mounts. I didn't want the harshness of solid motor mounts on a street driven car the vibration from the engine will eventuality take its toll on other parts. This modification not only keeps the motor mounts in one piece, it will also put more torque to the driveshaft by eliminating the flex in the OEM mount that is lifting the engine when it is rev. I can feel a very slight vibration with the mounts being pinned, but it is not enough to be concern it is something that was expected.
Drill 2- 25/64" holes in each mount. Counter sink the holes. Use 3/8"x 1 3/4" Stainless Flat Head Cap Bolts.
Using Loctite, tighten nut until the bolt starts to spin, plus an extra 1/4 to 1/2 turn.
Grind the bolt head flush with the mount,
then paint mount to deter rust.
Now you have motor mounts that are solid without the vibration.


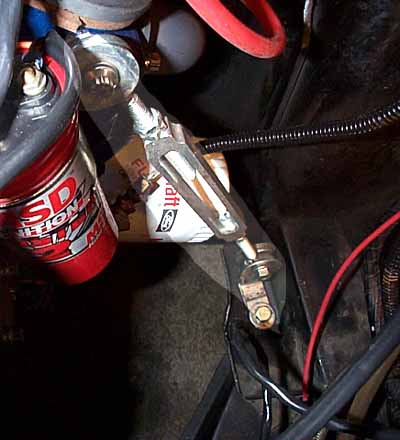
Ford Muscle.com wrote:Make your own Torque Strap!
https://www.fordmuscle.com/archives/2000/04/quicktips/
If you've ever had an engine mount break upon hard acceleration, you may be familiar with the damage it can do. The fan can hit the shroud, and the air cleaner can come up and smack the hood.
You can prevent this, and take stress off the drivers side mount, by installing this simple device. A torque strap connects the engine to the frame, and keeps the engine from rocking over under acceleration or launch. Preloading the turnbuckle at the strip creates a "solid motor mount" effect in that it takes the stress off the rubber engine mount, which absorbs energy, and instead directs more energy to the wheels.
You can pick up a 8-10" turnbuckle from any hardware store. While you're there, get some Grade 8 nuts, bolts, and washers. You'll need to fab up a steel "L" bracket as shown below. Attach one end to an accessory bolt hole in the drivers side cylinder head, and the other end connects to the sway bar frame mount. You may need replace the stock sway bar bolt with a longer Grade 8 piece.
A great source for vintage cars is National Parts Depot. I bought the Mustang brake pedal here and also just had a replacement fan shroud arrive. You can request a free magazine catalog mailed matched to your classic car.
https://www.npdlink.com
